
Laptop Upgrade Guide
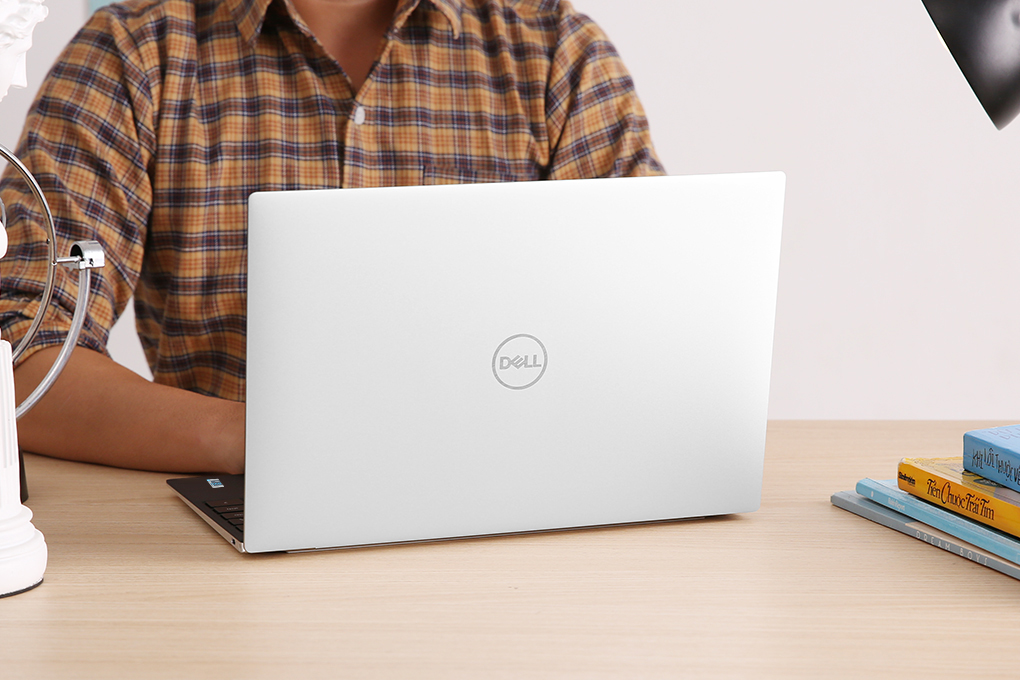
Dell XPS 13 9310
Model 9310 · Released 2020
- Max RAM
- 32 GB (LPDDR4x)
- RAM Slots
- Soldered (0 Slots)
- Storage Slots
- 1 Slot (M.2 2230/2280 · PCIe NVMe)
Can you upgrade this laptop?
Memory on documented Dell XPS 13 9310 configurations uses soldered LPDDR4x modules and cannot be expanded after purchase.
Storage is documented with 1 physical storage slot (M.2 2230/2280).
The internal battery (52 Wh) is documented as replaceable using matching service parts.
All findings below are cross-referenced against 5 cited manufacturer or technical documents.
Standard Configuration
Memory
Not upgradeable (soldered)
Maximum 32 GB
LPDDR4x
Soldered
0 RAM slot
Storage
Upgradeable / replaceable
1 physical slot
- M.2 2230/2280 · PCIe NVMe
Battery
Replaceable
52 Wh
Recommended Upgrade Parts
Shop compatible upgrades for Dell XPS 13 9310
Because system memory is soldered on this model, focus on expanding compatible SSD storage and keeping precision teardown tools on hand.
System memory cannot be upgraded on this model; expand storage with a verified M.2 NVMe SSD.
Disclosure: As an Amazon Associate, we earn from qualifying purchases at no extra cost to you.
Technical Upgrade Walkthrough
Dell XPS 13 9310 Memory & Storage Architecture Guide
1. Memory Architecture & Dual-Channel Performance
The Dell XPS 13 9310 ships with LPDDR4x soldered directly onto the motherboard and does not provide any user-accessible SO-DIMM expansion slots. Memory capacity is fixed at purchase (up to 32 GB configured at the factory) and cannot be upgraded later by consumers or repair shops without specialized board-level micro-soldering. Buyers or current owners needing headroom should rely on fast NVMe scratch storage and lean background processes instead.
Because onboard LPDDR4x packages are wired directly beside the processor, the Dell XPS 13 9310 already operates in a high-bandwidth multi-channel configuration optimized for low latency and strong power efficiency. While you cannot swap or add physical memory sticks after delivery, keeping at least 15% to 20% of your primary SSD free ensures virtual memory swap files remain responsive under heavy multitasking, container builds, or photo editing workloads.
2. M.2 NVMe Storage Expansion & Thermal Management
For storage expansion, the Dell XPS 13 9310 provides 1 M.2 slot supporting M.2 2230/2280 drives over PCIe NVMe. PCIe NVMe interfaces are backward- and forward-compatible across generations, so a Gen 4 SSD safely runs at Gen 3 speeds in a Gen 3 bay—though picking a drive matching your chassis length (M.2 2230/2280) is strictly required for the mounting standoff to align.
High-throughput NVMe SSDs generate substantial heat during sustained file transfers or OS cloning. Check whether your Dell XPS 13 9310 includes a factory thermal pad or thin copper heat spreader on the bottom cover or SSD bay, and avoid bulky aftermarket desktop heatsinks that prevent the slim laptop bottom panel from seating flush.
3. 5-Step Safe Hardware Installation Checklist
- 1
Shut Down & Disconnect Internal Power
Perform a full operating system shutdown instead of Sleep or Hibernate, unplug the AC adapter and USB-C peripherals, remove the bottom panel, and carefully disconnect the internal battery cable (or toggle the BIOS battery-disable option) before touching any internal components.
- 2
Observe ESD Protection & Grounding
Work on a clean, hard, non-carpeted desk surface, touch an unpainted grounded metal chassis screw before handling hardware, wear an anti-static strap if available, and hold memory or NVMe modules strictly by their non-conductive PCB edges.
- 3
Remove the Bottom Cover Safely
Use a precision screwdriver bit matching the exact Torx or Phillips chassis fasteners, map screws by length on a magnetic tray, and release perimeter plastic retention clips gently with a nylon pry tool without flexing the palmrest deck.
- 4
Insert Modules at a 45-Degree Angle
Align the gold-pin key notch with the motherboard socket, slide SO-DIMM sticks or M.2 NVMe drives firmly into place at roughly a 30 to 45 degree angle, then press down flat until side latches click or the M.2 retention screw seats cleanly.
- 5
Reconnect Battery & Allow BIOS Memory Training
Reattach the internal battery cable, verify any SSD thermal pad makes contact, secure the bottom cover, and power on; wait 30 to 90 seconds on the first boot while BIOS/UEFI completes memory training before expecting display output.
Sources
Dell XPS 13 9310 Manuals & Documents — Service Manual and Setup and Specifications
Dell · official_support
Dell XPS 13 9310 Setup and Specifications — Memory
Dell · official_specs
XPS 13 9310 Setup and Specifications — Battery
Dell · official_specs
XPS 13 9310 Setup and Specifications — Memory
Dell · official_specs
XPS 13 9310 Service Manual — Battery and SSD
Dell · official_service_manual
See an outdated specification or missing sub-model detail? Report a source-backed correction.
Frequently Asked Questions
What is the maximum RAM supported by Dell XPS 13 9310?
The Dell XPS 13 9310 tops out at up to 32 GB of LPDDR4x. Memory is soldered directly to the motherboard (0 upgradeable SO-DIMM slots) and cannot be expanded after purchase.
Does Dell XPS 13 9310 have an extra M.2 SSD slot for storage upgrade?
The Dell XPS 13 9310 includes 1 M.2 slot supporting M.2 2230/2280 drives over PCIe NVMe. Because there is only one internal bay documented on most configurations, expanding capacity typically means cloning and swapping the primary drive.
What RAM speed and type does Dell XPS 13 9310 use?
The Dell XPS 13 9310 uses soldered LPDDR4x, wired in a multi-channel factory layout that cannot be swapped with SO-DIMM modules.
Is it safe to upgrade the RAM and SSD on Dell XPS 13 9310 yourself?
Yes, as long as you follow basic precautions: power the Dell XPS 13 9310 completely off, unplug the AC charger, and disconnect the internal battery cable before touching the motherboard. Use a precision Torx/Phillips driver and a nylon spudger so bottom-cover plastic clips do not snap (and under the US Magnuson-Moss Warranty Act, upgrading compatible parts will not void Dell's base warranty unless physical damage occurs). Check compatible parts above in Recommended Upgrade Parts (#recommended-upgrades).
Related / Similar Laptop Upgrade Guides
Compare memory limits, SO-DIMM slots, and M.2 NVMe expansion across similar models.
Dell XPS 15 9510 RAM & SSD Upgrade Guide
Up to 64 GB DDR4 · 2 M.2 Slots
Dell XPS 15 9520 RAM & SSD Upgrade Guide
Up to 64 GB DDR5 · 2 M.2 Slots
Dell XPS 13 9320 RAM & SSD Upgrade Guide
Soldered RAM · 1 M.2 Slot
Dell XPS 16 9640 RAM & SSD Upgrade Guide
Soldered RAM · 1 M.2 Slot
Dell G15 5510 RAM & SSD Upgrade Guide
Up to 32 GB DDR4 · 2 M.2 Slots
Dell Inspiron 15 3511 RAM & SSD Upgrade Guide
Up to 16 GB DDR4 · 1 M.2 Slot
Check your upgrade compatibility
Want to check a specific RAM or SSD capacity for this model? Open the interactive checker with Dell XPS 13 9310 pre-selected.
Open Laptop Upgrade Checker